How-To: Build A PCB Using Sand

Hello, everyone! In this FIRST EVER PROPER blog post, we are going to cover how to build and reflow a PCB (Printed Circuit Board) with SMD (Surface Mount Devices) components at home using an electric skillet and sand. In this guide, we will be assembling an Atlas board.

If you’d rather watch a video (woohoo!) covering this than read, click here!

This blog post contains a little more information than the video, but they both have a lot in common in the end.

However, in this post we will cover:
– How to use a stencil
– Picking and placing components
– The reflow process
– Testing a board after reflowing
– And hand soldering of through-hole components

With that out of the way, let’s get started!

Here's what you'll need:

1) An electric skillet or griddle. Yes, that same one you’d use to cook food.

An actual reflow oven can easily cost 5000 AED (1360 USD) or more, but this one only cost me 208.95 AED (56.89 USD), including warranty!


2) Sand. Simple enough if you live in a region with deserts. Just go fill a bucket!

AlQudra Desert in Dubai, United Arab Emirates

3) A way to monitor temperature from a distance, like a non-contact infrared thermometer.

1- Designing and Ordering the PCB

First, you have to start with the delicate and thoughtful process of designing the PCB:

Starting with a block diagram:

then a schematic:

and eventually a layout:

Once all that is done, go to your favorite PCB manufacturer, upload the Gerber files, pray it passes inspection, and if it all goes well, place an order.

Wait a few days (or weeks) and congratulations! You have your board, with hopefully no major crippling hardware issues… hopefully.

2- Inspecting the PCB and Checking Component Availability

Once you get the board, you are allowed to admire and appreciate the work you put in. But not for long!

Next, you gotta do a visual inspection. During manufacturing some boards might have defects. Does it all look good and as designed? Are your vias placed in the correct places? Any silkscreen issues? unplated pads? Have a general look around.

You also have to check and make sure you have all your components ready and in stock. Each person handles it differently, personally, I have an Excel sheet that lists all the parts and quantity needed to build an Atlas board.

Check if you have all your components and place them in an easy to access location for later steps.

3- The Stenciling Process

A stencil is a thin sheet of stainless steel with cutouts used to aid in applying solder paste to all the right places on a PCB easily and quickly.

Atlas stencil

To get a stencil, you simply add it to your PCB order and have your PCB manufacturer make one for you if they offer that service.

Alternatives to stenciling are: owning an expensive machine that will apply the paste for you, applying solder paste little by little while using a hot air gun, or hand soldering. Considering how many little parts we have, that will take a long time, and frankly, it will be a pain.

Before we get to applying solder paste, what is solder paste? Solder paste is powered solder in flux paste. Put simply, it’s the thing that will eventually hold all our components to the board and form electrical connections between those components and traces on the board.

We first need to find a way to hold our main board down and ensure it doesn’t move while we spread the paste.

Taping extra boards around the main board is the easiest method to ensure the main board doesn’t move while we apply solder paste. Simply get extra boards, place them around the main board, tape them down, and check that the main board is firmly in place.

Now we are starting with the fun part of this process: applying the solder paste. Place the stencil on your board. Make sure it perfectly aligns with the pads underneath.

Once you are satisfied, tape it down! The goal is to have this process go as smoothly as possible without errors and to avoid having to clean and start all over again.

More examples:

Shabakah stencil
Nabd stencil

Once you have the stencil taped down, get the solder paste and plop it down! You can get messy here. It doesn’t really matter. And yes, the pencil was the best tool (within arms reach) that could allow me to spread the paste. It doesn’t really matter how you get the paste there, just make sure you cover all openings.

What’s important is using the right tool for spreading the paste. My favorite is a regular card or anything solid like it. Simply swipe and scoop, reapplying the solder paste that you collect to ensure all holes have been filled. Collect any excess paste and return it to its packaging.

Once all the openings are filled up with solder paste, slowly remove the stencil, making sure it doesn’t slide and smear paste everywhere.

But hold on! Do not put that stencil away just yet. Clean it up if you are not going to keep using it. Trust me, hardened solder paste is not fun to remove later. Simply wet a cloth with 70% isopropyl alcohol and scrub until it’s clean. It’s a quick and easy process, and your future self will definitely thank you for it.

4- Pick and Place

Now to a process I find soothing and relaxing. Put on your favorite music or podcast and simply – vibe.

What you do now is simply pick and place components in their correct locations. Do not forget to account for the orientation of components that need it, like diodes and ICs.

In addition, components do not need to be exactly aligned on their pads; when you reflow, they will “snap” into place.

Here are a few snippets after placing all the components; it looks pretty good:

5- The Reflow Process

Next, we move on to a critical step. Safely transport the Atlas board to the “lab” outside.

You’ve got to be real careful when moving the board. Any accidental slip and you have to start the entire process all over again (*cough* not like we know anything about this just yet…).

In this “lab,” we have 3 essential components (mentioned earlier in this post):

1) An electric skillet or griddle for heating the boards and reflowing the solder paste

2) Sand to help with the reflow process

3) A way to monitor temperature from a distance, like a non-contact infrared thermometer: you’ll need it to keep an eye out on the sand and board temperatures

We start off by covering the electric skillet with sand and turning it on:

We use an infrared thermometer to monitor the sand temperature, which should be above 140 °C but below 200 °C.

We take the Atlas board and place it on the skillet. The solder paste I used is lead-free and has a melting point of about 140°C. So, I try and keep the board above that, but not much higher.

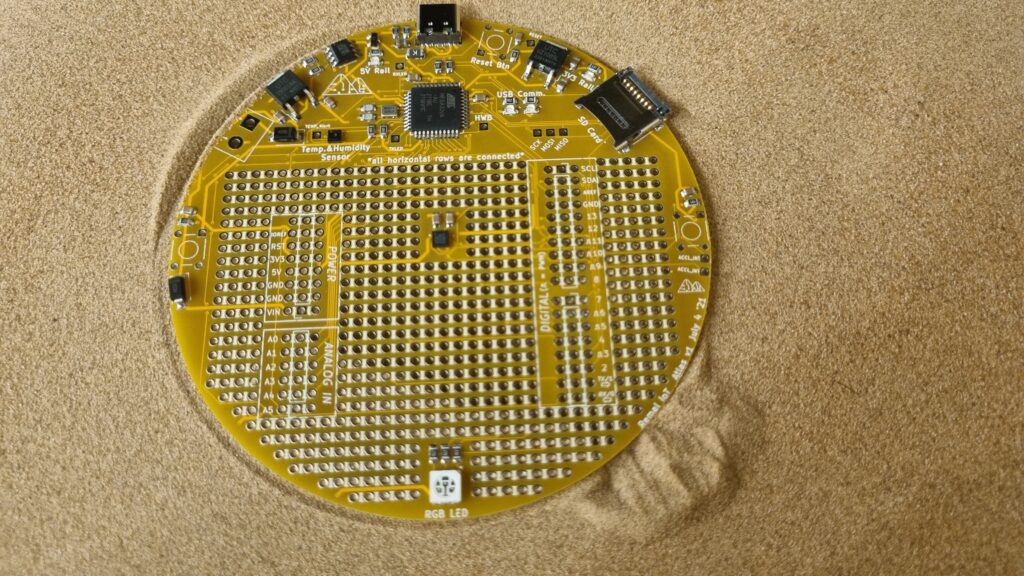
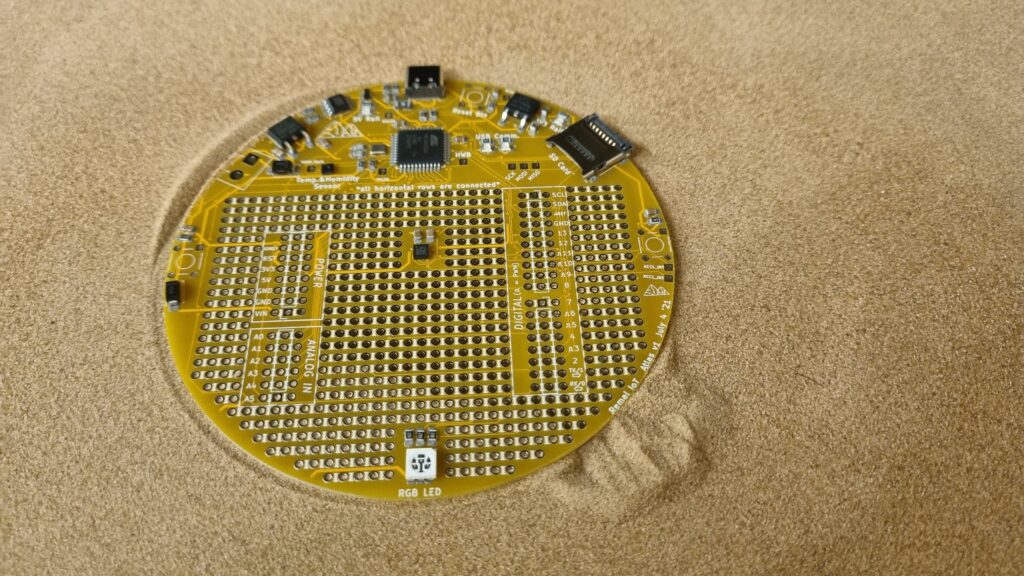
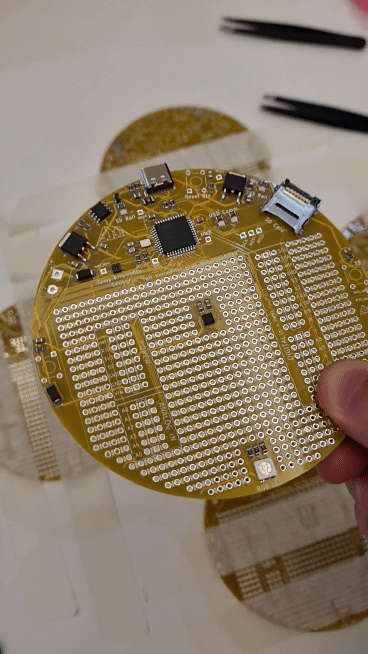
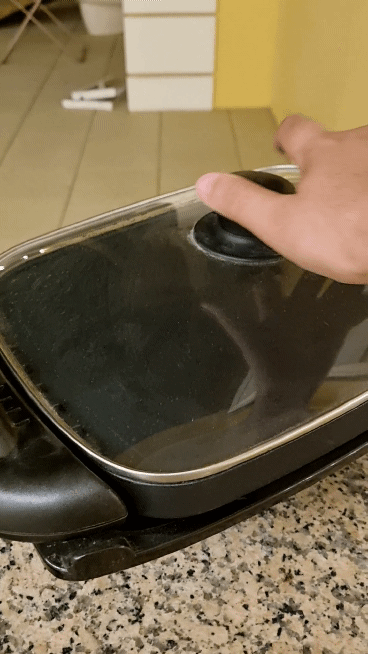
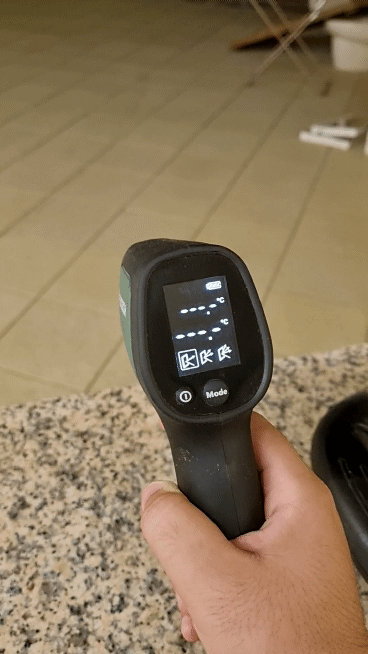
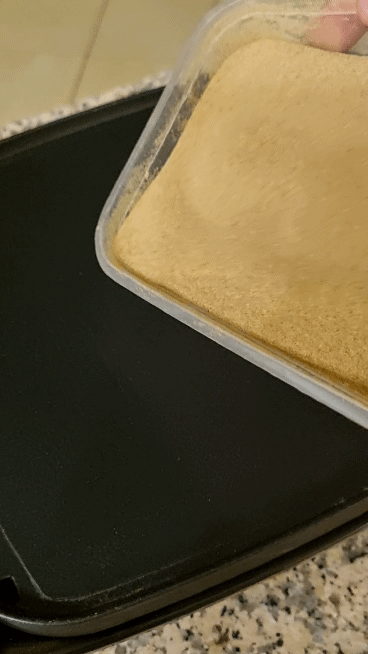
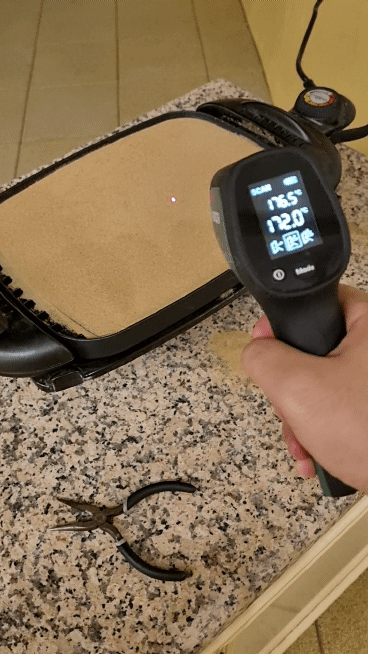
Why sand I hear you asking? Well, sand helps with heat retention and distribution.


Think about it: an electric skillet does not necessarily have an even heating area, and the sand helps mitigate that issue by providing better heat distribution and retention across boards placed on it, which in turn helps with the reflow process.

Something to note about this process is that it requires a lot of attention. You need to keep an eye on the temperature and change the skillet’s level of heating appropriately. Of course, one could make a device to automate this. It makes for a fun project. Or buy an actual reflow oven, but those aren’t cheap.

The goal here is to keep the temperature as low as possible while being above the melting point. Using very high temperatures could damage the board and the components on it.

The solder paste will start to melt and turn from grey paste:

into shiny, silvery connections!

Once all connections look good, remove the board and allow it to cool down. Do NOT touch your board just yet; it’s still piping hot!

Well, we embrace our failures here at Remal IoT in hopes that others will learn from us. Do not, and I repeat, DO NOT use the tip of a plier to grab the board and move it out of the skillet*sigh*

Yes, most of the components flew right off as the solder still did not have enough time to cool down and solidify. And yes, I had to do this ENTIRE process all over again. Everything. From stenciling up to this point.

But hey, no use crying about it, plus it’s fun to build boards! So, I quickly got back to it and got another board ready for reflow!

This time I made sure to use a proper tool to remove the board safely and carefully from the skillet.

6- Inspection of Joints, Shorts and USB Power

Once the board has cooled down, an important follow-up is to check the integrity of the soldered joints.

I recommend using a digital microscope to help with that process. They are cheap and can be easily found online.

Next, check for shorts by using a multimeter set to “continuity”. Ideally, you would have done that when you first got the board and then once more after the components have been soldered to isolate any potential issues early.

Lastly, a quick check of the USB-C connection:

aaaand it lights up! Looking good so far!

7- Hand Soldering Through-Hole Components

We are not done yet. One final step remains, which is hand soldering the rest of the through-hole components.

Hand soldering through-hole components is pretty easy, and like the pick and place process, it is also very soothing.

Here I’m reinforcing the integrity of the USB-C port, since it will have a lot of mechanical stress. Applying solder to hold down the connector is critical. The last thing you’d want is the USB port to fly right off when you are working on a project.

Finally, the buttons, screw terminal, and any remaining headers:

Aaaaaaand DONE!

The Atlas board is now fully assembled and ready to be used!

This, in short, is how we assemble and reflow our boards. We appreciate you taking the time to read this and hope you learned something. If you enjoyed it, please share it with a friend!

Look forward to more projects, tutorials, and other cool things in the future! Do you have any topics you think would be interesting for us to cover? Let us know in the comments!

Video: Building an Atlas Board Using Sand

Or view the post on our Instagram page:

 
View this post on Instagram
 

A post shared by Remal IoT (@remal_iot)

Leave a Reply

Your email address will not be published. Required fields are marked *